GitHub Repo Display and Single Repo Details Page
Implementing the GitHub API and Proper SEO in a React App


Overview
This project is a simple application that displays a list of repositories for a given GitHub user, and data for a single repository when clicked from the list of repos. The project also included the implementation of pagination for the repo list, error boundary, and 404 pages.
Technologies and Tools Used:
React
React Router
React Helmet
React Paginate
Project Setup
To start the project, I created a new React project using
create-react-app,$ npx create-react-app github-repoI then installed the additional libraries and dependencies required for the project, such as React Router, React Paginate, and React Helmet.
$ npm install react-router-dom@6$ npm install react-paginate$ npm install react-helmet-asyncNext, I set up my workspace
Implementation Steps
Once the basic setup was complete, the next step is to set the routes in the
App.jsfile. First of all, I wrapped my App within theBrowserRouterimported from thereact-routerpackage in theIndex.jsfile.import React from 'react'; import ReactDOM from 'react-dom/client'; import { BrowserRouter } from 'react-router-dom'; import './index.css'; import App from './App'; const root = ReactDOM.createRoot(document.getElementById('root')); root.render( <BrowserRouter> <React.StrictMode> <App /> </React.StrictMode> </BrowserRouter> );Then I set the routes and nested routes in the
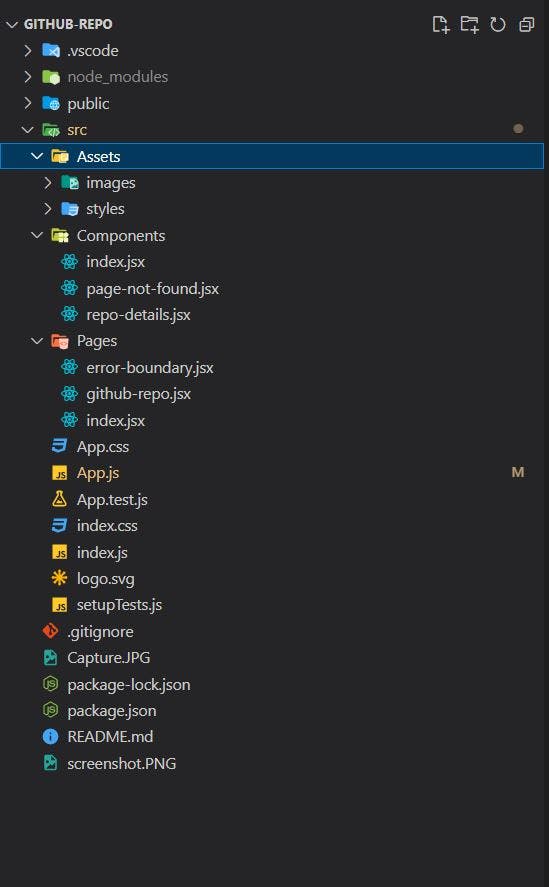
App.jsfile<Routes> <Route path="/"> <Route index element={<GithubRepo />} /> <Route path="/repo/:id" element={<RepoDetails />} /> </Route> <Route path="/error-boundary" element={<ErrorBoundaryExample />} /> <Route path="*" element={<PageNotFound />} /> </Routes>The next step was to implement the main page which is
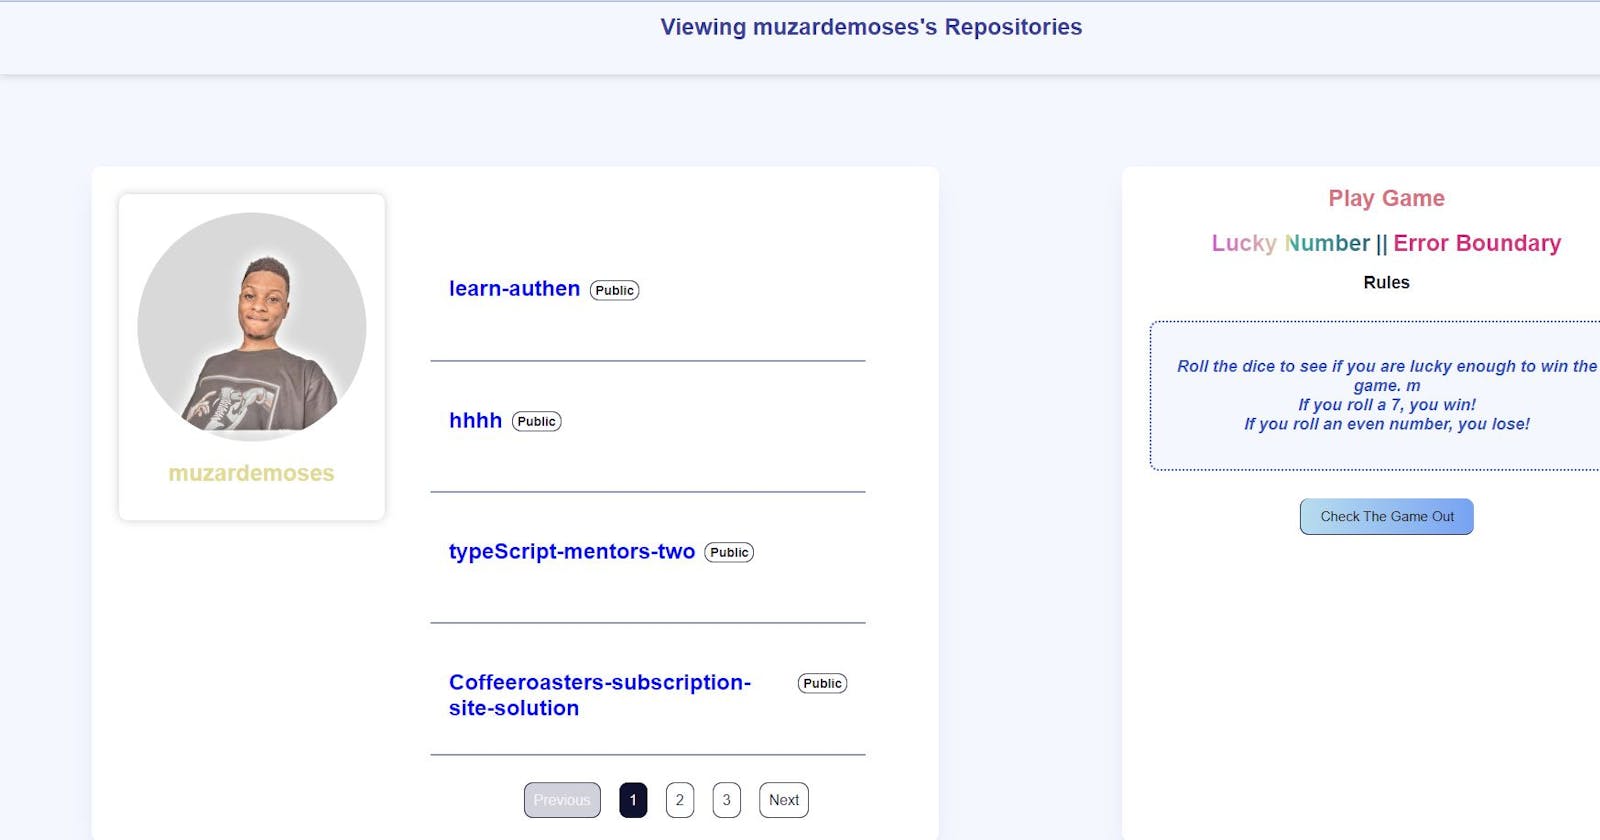
github-repo.jsxfor displaying the list of repositories. I used theuseStateanduseEffectHooks to fetch data from the GitHub API for a specific user. I specified the endpoint to behttps://api.github.com/users/[USERNAME]/repos, where[USERNAME]is replaced with the desired user's username.I made the API call inside a
useEffecthook, which triggers the fetch when the component mounts. I saved the response data in a state variable calleditems. I also added a loading state variable, which is set totruewhile the data is being fetched and set tofalseonce the data is returned. This allows me to display a loading message while the data is being fetched and the repo list once the data is available.const [loading, setLoading] = useState(true); const [users] = useState("muzardemoses"); const [items, setItems] = useState([]);useEffect(() => { setLoading(true); const FetchRepos = async () => { const res = await fetch( `https://api.github.com/users/${users}/repos? page=1&per_page=12&sort=updated` ); const data = await res.json(); setItems(data); setLoading(false); }; FetchRepos(); }, [users]);Next, I implemented pagination for the repo list using the
react-paginatelibrary. I calculated the number of pages needed based on the number of items in the list and the number of items to display per page. I then added a page change handler function that updates the current page number state variable and re-renders the component with the appropriate set of repos for the new page.I displayed the repo list by mapping over the repos in the
itemsstate variable and rendering a component for each repo. I also added a link to each repo that leads to a page with more details about the specific repo.const [pageNumber, setPageNumber] = useState(0); const usersPerPage = 4; const pagesVisited = pageNumber * usersPerPage;const displayRepos = items .slice(pagesVisited, pagesVisited + usersPerPage) .map((item) => { return ( <div className=""> <div key={item.id} className="sub-repo"> <Link to={`/repo/${item.id}`}> <h1>{item.name}</h1> </Link> <h4> {item.private ? ( <p className="piv">Private</p> ) : ( <p className="piv">Public</p> )} </h4> </div> <div className="line"></div> </div> ); }); const pageCount = Math.ceil(items.length / usersPerPage); const changePage = ({ selected }) => { setPageNumber(selected); };Implementing Nested Routes and Single Repo Display
To display more details about a specific repo, I have already implemented nested routes using the
react-router-domlibrary in theApp.jsfile. I created a new component calledRepoDetailsand added a route for it as a child of theGithubReporoute. TheRepoDetailsroute includes a dynamic segment that allows me to pass the repo ID as a prop to the component.In the
RepoDetailscomponent, I made another API call to the GitHub API to fetch the details for a specific repo. I specified the endpoint to behttps://api.github.com/repos/[USERNAME]/[REPO], where[USERNAME]is the user's username and[REPO]is the repo name. I saved the response data in a state variable and used it to display the details about the repo, including the repo name, description, language, and creation date.const [items, setItems] = useState([]); const [users] = useState("muzardemoses"); const params = useParams(); useEffect(() => { setLoading(true); const FetchRepos = async () => { const res = await fetch( `https://api.github.com/users/${users}/repos?page=1&per_page=12&sort=updated` ); const data = await res.json(); setItems(data); setLoading(false); }; FetchRepos(); }, [users]); const repo = items.filter((item) => item.id === Number(params.id));{repo.map((item) => { return ( <div key={item.id}> <div className="single-repo-name"> <h1>{item.name}</h1> <h4> {item.private ? ( <p className="piv">Private</p> ) : ( <p className="piv">Public</p> )} </h4> </div> <div className="single-repo-desc"> <div className="repo-line"> <h4>{item.description}</h4> {/* if statement for language (css, html, javascript) */} <p> {item.language === "JavaScript" ? ( <span className="lang"> <span className="j-circle"></span> JavaScript </span> ) : item.language === "HTML" ? ( <span className="lang"> <span className="h-circle"></span> HTML </span> ) : item.language === "CSS" ? ( <span className="lang"> <span className="c-circle"></span> CSS </span> ) : item.language === "TypeScript"( <span className="lang"> <span className="t-circle"></span> TypeScript </span> )} </p> <p> Updated on {format(new Date(item.updated_at), " dd MMMM yyyy")} </p> {/* repo link */} <p> <a href={item.html_url} target="_blank" rel="noreferrer" className="url"> View Repository on Github </a> </p> {/* live website */} <p> <a href={item.homepage} target="_blank" rel="noreferrer" className="live"> Live Website </a> </p> </div> </div> <button onClick={() => navigate(-1)} className="repo-btn" >Back</button> </div> ); })}To handle errors in the application, I created a
ErrorBoundarycomponent that wraps the components that may throw errors. TheErrorBoundarycomponent implements thecomponentDidCatchlifecycle method, which catches any errors thrown by the wrapped components and displays an error message to the user.I also implemented a 404 page for when a user navigates to a non-existent route. I used the
"*"value for thepathprop is a special wildcard character that matches any path that hasn't already been matched by another route, and if so, displays the 404 page.<Route path="*" element={<PageNotFound />} />To ensure proper SEO for the pages, I used the react-helmet library to add relevant titles, descriptions, and canonical tags to the head of each page.
I will wrap the root App within
HelmetProviderimported from react-helmet-async in theindex.jsfile.const root = ReactDOM.createRoot(document.getElementById('root')); root.render( <BrowserRouter> <React.StrictMode> <HelmetProvider> <App /> </HelmetProvider> </React.StrictMode> </BrowserRouter> );This is how I use it in
github-repo.jsfile<Helmet> <title>Repo Details</title> <meta name="description" content="Repo Details" /> <link rel="canonical" /> </Helmet>Lastly, I created a file called _redirects with no extensions
/* /index.html 200
Testing
Before deployment, I tested the application to make sure all the features were working as expected.
Deployment
After testing the application and being satisfied that it is working fine, I pushed the codes to GitHub from my local terminal using this process:
Open the terminal and create a new git repository
$ git initI then add all my current files to the repository and then bundle them in a commit
  $ git add .
  $ git commit -m "Initial commit"
Created a new repository in my GitHub account, and copied the repository's remote URL
I then connect the remote repository to your local Git repository with the following command
$ git remote add origin <remote repository URL>Finally, I push my changes from my local repository to my new remote repository
$ git push -u origin main
After pushing to GitHub, I host my site on Netlify using my Github repository. You can check how to host to Netlify from Github here
Conclusion
In conclusion, I was able to successfully implement a web application that fetches and displays a list of repositories from the GitHub API, allows users to view details of a single repository, and includes proper SEO, an error boundary page, and a 404 page. The project required the use of React, the react-router-dom library, and the react-paginate library, as well as the use of the GitHub API and the react-helmet library.
Acknowledgements
I want to thank AltSchool Africa for giving me the opportunity to learn and improve my skills as a developer.
Solution URL: GitHub Repository
Live Site URL: Check Live Url